The 101 Guide To Getting Started With Ionic

Twitter Reddit LinkedIn Facebook
This guide is for everyone (A) who likes to start building quick prototypes and (B) who likes to dip their toes into hybrid app development. It will help to have a bit of experience with web technologies like JS or CSS. However, to get started with installing all dependencies will actually go smoother the less programming experience you have.
Installing ionic does not come as easy as I would like to have it because the framework comes with dependencies on other development tools. However, except Xcode you can install those below by just copying+pasting the command listed into the Terminal window. No worries, I explain the Terminal window as well. If you encounter issues while installing one of the tools please leave a note in the comments and I will help to resolve these issues.
Note: If you don’t care about a quick explanation of each those tools and what they do you can skip the next part. (I suggest to give it a quick read because it provides a good perspective)
Homebrew
Basically, an install program that helps installing tools and programs. For example: The Adobe Installer that does install Photoshop, Illustrator, InDesign etc at once.
NodeJS
Node.js is a software platform for scalable server-side and networking applications. Node.js applications are written in JavaScript. All of the popular server operating systems are supported, including Windows and Linux.
Sass
CSS is used to describe how parts of webpages, e.g. headings, text or images look like. Sass makes CSS code more efficient because it introduces programming concepts into normal CSS.
One central rule in programming is that you should never write code more than once. With CSS though it frequently happens that code is re-written and appears again in other parts of the site. Sass makes writing flexible CSS more efficient and also adds variables for example. Instead of hardcoding colors at different parts of a CSS file developers can simply insert a variable.
Browsers, however, cannot interpret Sass code. So in order to apply the visual styling which has been written with Sass a program has to convert the Sass code to normal CSS. You are basically installing those programs with the Sass install command further down.
Cordova
iOS and Android apps need to be written in native code. Now, technologies that are commonly used on the web (webpages, browser-based applications) are different to those languages used for native apps.
Cordova is essentially a tool to convert code that is written with web technologies to native iOS or Android applications. The beauty of this approach is that a developer does not need to change her toolset that she has been using for years to build websites or web-based applications (HTML, CSS, JavaScript).
Cordova conceptually acts as a box around web-apps in order to create applications that run on Android or iOS devices. The native code is basically the box or outer shell and the web-app is literally the content that runs inside.
Xcode
Xcode is the programming environment for everything Apple that developers use to create native apps for Mac or iOS devices. ionic uses Cordova (as explained above) to generate native iOS apps. But in order to run and test those apps locally on your machine ionic uses the iOS emulator that comes with Xcode to open the generated iOS app. With this emulator you can essentially click through and test your app locally on your Mac as if it would run on your iPhone. However though after you have installed Xcode you actually do not need to touch the program at all. You only have to open it once for the Welcome screen to appear. You can then leave it untouched for the years to come (but do no uninstall).
Continue here if you just skipped the part above.
Mac Terminal
Don’t worry. It does sound techie and it actually is but you only need to follow the commands that I list below. Luckily every Mac comes pre-installed with Terminal, no need to install this separately.
To open the Terminal you can either:
A - Go to your Mac Applications folder > Utilities > then double-click the Terminal app
B - Hit “CMD+Space” on your keyboard, the Mac Spotlight window will appear at the top right. Then enter terminal and hit “Return”.
Every Terminal command below is indicated through a $-sign at the beginning of the command. This will indicate that the text right after (the command) shall be entered and executed into the Terminal window. Whenever you open a Terminal window you will be prompted with something like:
NameOfYourMac:~ NameOfYourAccountOnTheMac$
For my Mac this looks like:
MBP:~ andree$ |
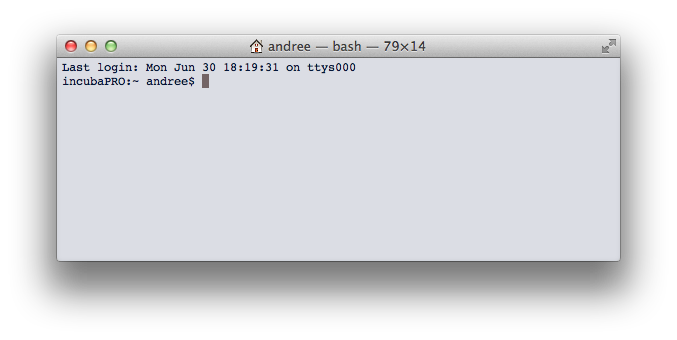
A cursor will blink at the end indicating that you can enter commands. Whenever you encounter a command in this article you should basically copy everything that is shown behind the $-sign and paste it into the Terminal window.. But do not copy the $-sign itself as well.
Note: Whenever you double-click text in this article or on webpages for that matter in general the browser will mark the entire space from left to right (text included). If you then copy this and paste it into Terminal it will automatically hit Enter or Return for you. This happens because you have copied the entire line/space on the page which includes the text but also the line break (Enter).
Installing everything ionic needs
Install Xcode
Note: Since you have a Mac you probably do have an Apple ID. You need that Apple ID to download software from the App Store.
- Open the Mac App Store
- Search for Xcode and install it
- Open Xcode, wait for the Welcome screen and close Xcode again, done
Install Homebrew
ruby -e "$(curl -fsSL https://raw.github.com/Homebrew/homebrew/go/install)"
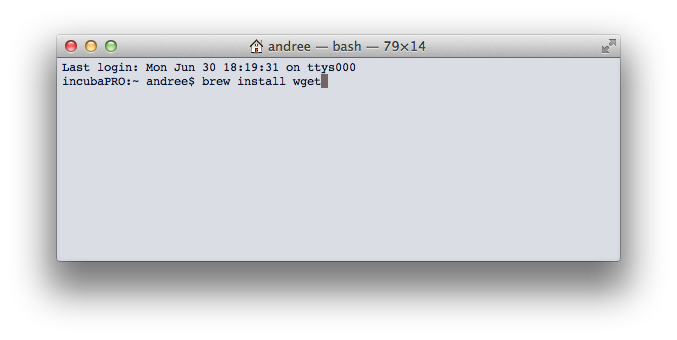
$ brew install wget
 Post-its are great but does their content survive the sprint?
Install NodeJS
$ brew install node
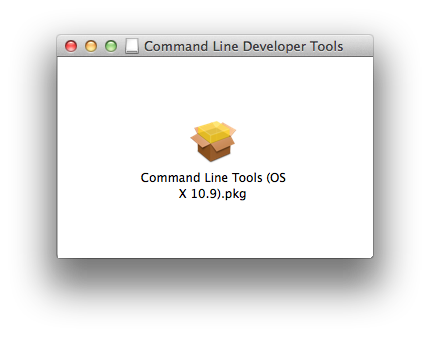
Install Xcode Command line tools
For OSX Mountain Lion, download the Mac Installer file here. For OSX Mavericks, download the Mac Installer file here.
After the download, double-click the file, then double-click “Commend Line Tools…”.pkg
 Post-its are great but does their content survive the sprint?
Then follow the installer as seen below.
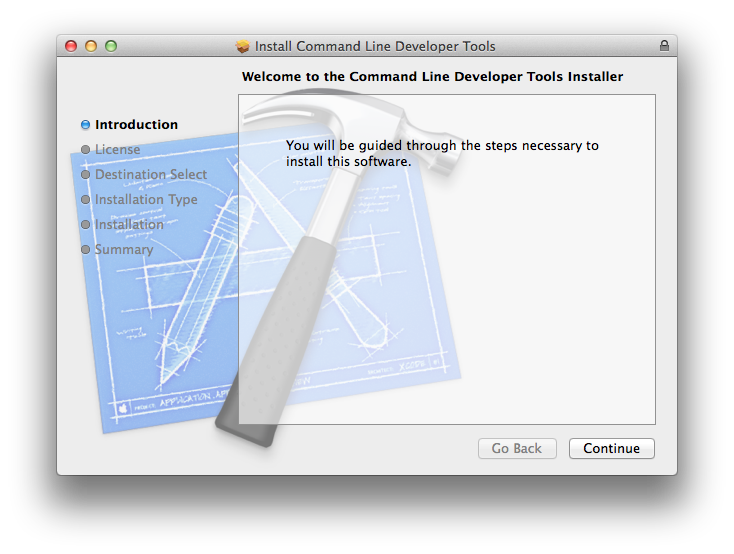 Post-its are great but does their content survive the sprint?
Install Cordova
- Open Terminal
$ sudo npm install -g cordova
Install Ionic
$ sudo npm install -g ionic
$ sudo npm install -g ios-sim
Good job. All dependencies are now set up.
Where To Create Your Projects
As a standard ionic will create new app projects in your Mac home directory. But what is this “home directory”? If you check out your hard drive folders at the very top of the folder tree a folder called Macintosh HD (you might have renamed it in the past, mine for example is called “Macintosh SSD” because I have a Solid State Drive).
You then find a folder called Users in Macintosh HD and in this folder there is a folder named after you. If you are not sure check the prompt in your Terminal window: NameOfYourAccountOnTheMac$ (in my case this is andree$, so andree is the folder name). This might be your first name or whatever you had entered when starting up your Mac for the very first time. This folder is generally called your Home folder. Ionic will automatically create projects in that Home folder if you do not tell it otherwise. I have a development folder in my home folder which is called Dev.
Let’s create a folder Dev for you. You can either do this in Finder or through Termina. Granted that you are still using the Terminal window enter and execute:
$ mkdir Dev
Then enter and execute
$ cd Dev
You should now see this:
NameOfYourMac:Dev NameOfYourAccountOnTheMac$
mkdir stands for “make directory”, cd for “change directory”. The cd-command will get you into the Dev folder where you then create all your ionic projects.
Note: Executing those commands in the Terminal is pretty safe. It will not crash your machine nor make it unusable.
Now, ionic comes with pre-build compositions or app projects that you can use to get started:
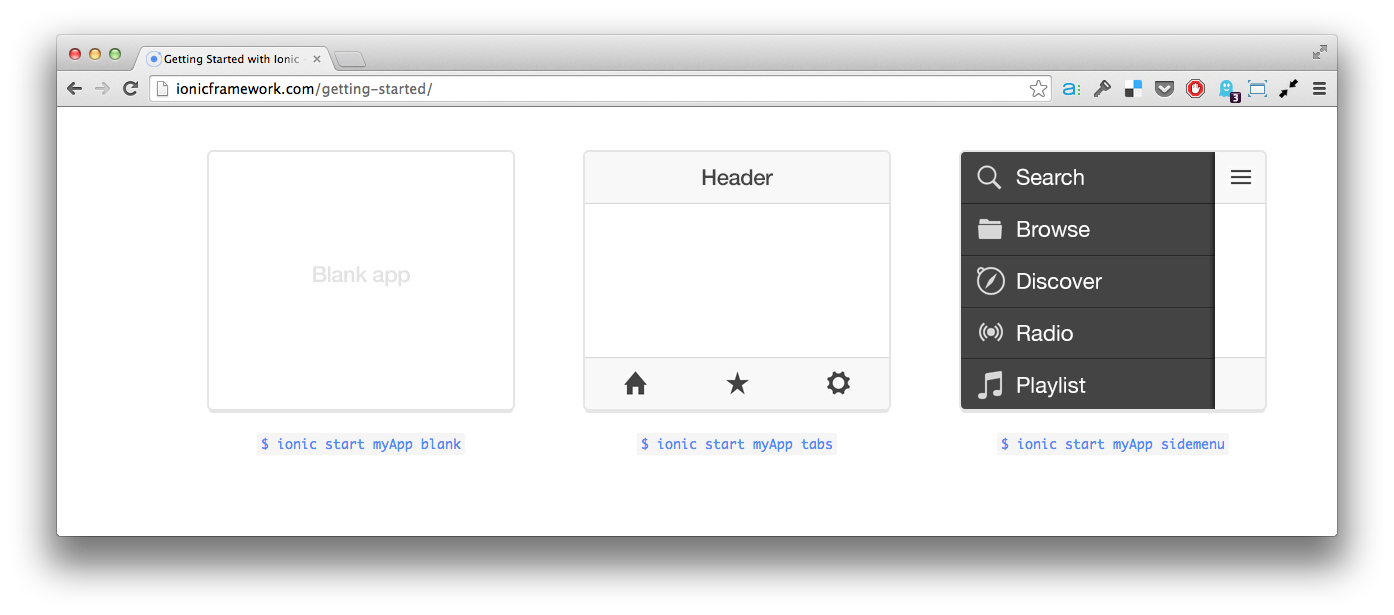
Let’s us start with a tab-based UI. Make sure that you are in your “Dev” folder, the Terminal will show something like: MBP:Dev andree$. Then enter and execute
$ ionic start myApp tabs
This command will download the necessary files from github.com as you can see on the screenshot below.
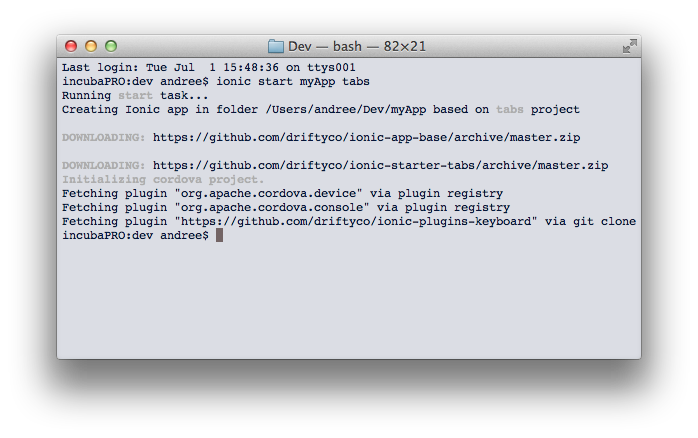
This will create a project folder myApp in “Dev”. If you to the Finder and check Dev you should now find a new folder called myApp.
In the second part of this post we will be tackle how to run, emulate and test ionic apps.